How to Clean Poler Chips Fast and Easy
UPDATED 2014/12/10
Is This Topic for You?: 1) I like having a little dirt and gunk on my poker chips. I think it lends some casino class. 2) I don't insist that my poker chips are 100% clean. 80-90% is good enough. 3) I enjoy scrubbing chips with a toothbrush and/or Magic Eraser and/or dental pick. 4) I don't really put any value on my time, and I don't want to spend any money. Besides, I scrub chips while watching TV, and I can focus on two things at once and still do a great job cleaning my chips. 5) I don't notice the permanent fading of my chips that occurs with some colors when I give them 15 minute or longer hot soaks in Oxi Clean, or if I notice the fading, I really don't care. 6) I have filthy Burt Co./ASM/CPC chips to clean. 7) I already own a high-end Chip Brite® ultrasonic cleaner! If you marked ANY of the statements above TRUE, then I recommend that you stop reading now, as THIS TOPIC IS NOT FOR YOU. To borrow another member's infamous tag line, it's a "No thanks."
––––––––––––––––––––––––––––––––––––––––
Before we start, I consider my own time valuable, and out of respect for others, I don't want to waste YOUR time. To see if this topic is for you, mark the following statements below TRUE or FALSE:
http://www.tcsjohnhuxley.com/en/live-gaming/utilities/chip-washer.html
Summary:
––––––––––––––––––––––––––––––––––––––––
This updated topic describes a process I've used to effectively clean dirty used Paulson chips (RHC, SCV, LCV) with an ultrasonic cleaner and sodium metasilicate with a minimum of effort. I've also used this process to clean ceramic Chipcos (Hard Rocks) and Bud Jones roulettes (Aztar). To be clear, just as with traditional manual baths followed by scrubbing/wiping/brushing/etc., this process only cleans the dirt and filth from the chips, i.e. it does not remove chip marks that are a result of harsh contact with other chips, like rack checks. Photos can be found at the bottom of this post.
Please be sure to do TESTING on a small number of chips prior to using ANY cleaning process on large quantities of expensive chips!
Bottom Line Results:
––––––––––––––––––––––––––––––––––––––––
This process results in completely clean chips for me, with absolutely NO brushing, scrubbing, or wiping whatsoever (i.e. no toothbrushes, Magic Erasers, etc.). Using this process, I am able to consistently clean 1,000 Paulson RHC chips (such as dirty Aztar E, Par-A-Dice, and Garden City casino chips) in an hour. This timeframe includes a 45 second ultrasonic bath for 40 chips at a time, plus the time necessary to rinse the chips in clean water, soak for 1 minute in white vinegar (5% acidity - to eliminate cigarette smoke odor if your chips have it - done while ultrasonic cleaning the next batch), pat them dry with a towel, and lay them out flat on a table for overnight drying.
Filthy Paulson SCV/LCV chips you ask? I can get 1,000 nasty Empress chips clean in 1-1/2 hours (as long as someone else hasn't previously tried to clean them, which makes the job a lot harder).
Hot-stamps? I've cleaned Casino Miami 300x gold hot-stamp fracs and 20x silver hot-stamp $10 chips with no discoloration or other problems using sodium metasilicate.
The speed is a combination of the fast ultrasonic cleaning, and setting up a good workspace and process that doesn't involve a lot of individual chip handling, walking back and forth, etc. These timeframes do not include equipment setup or cleanup, nor do they include time necessary to explain to your significant other exactly why you need to co-opt her kitchen.
Equipment and Materials:
––––––––––––––––––––––––––––––––––––––––
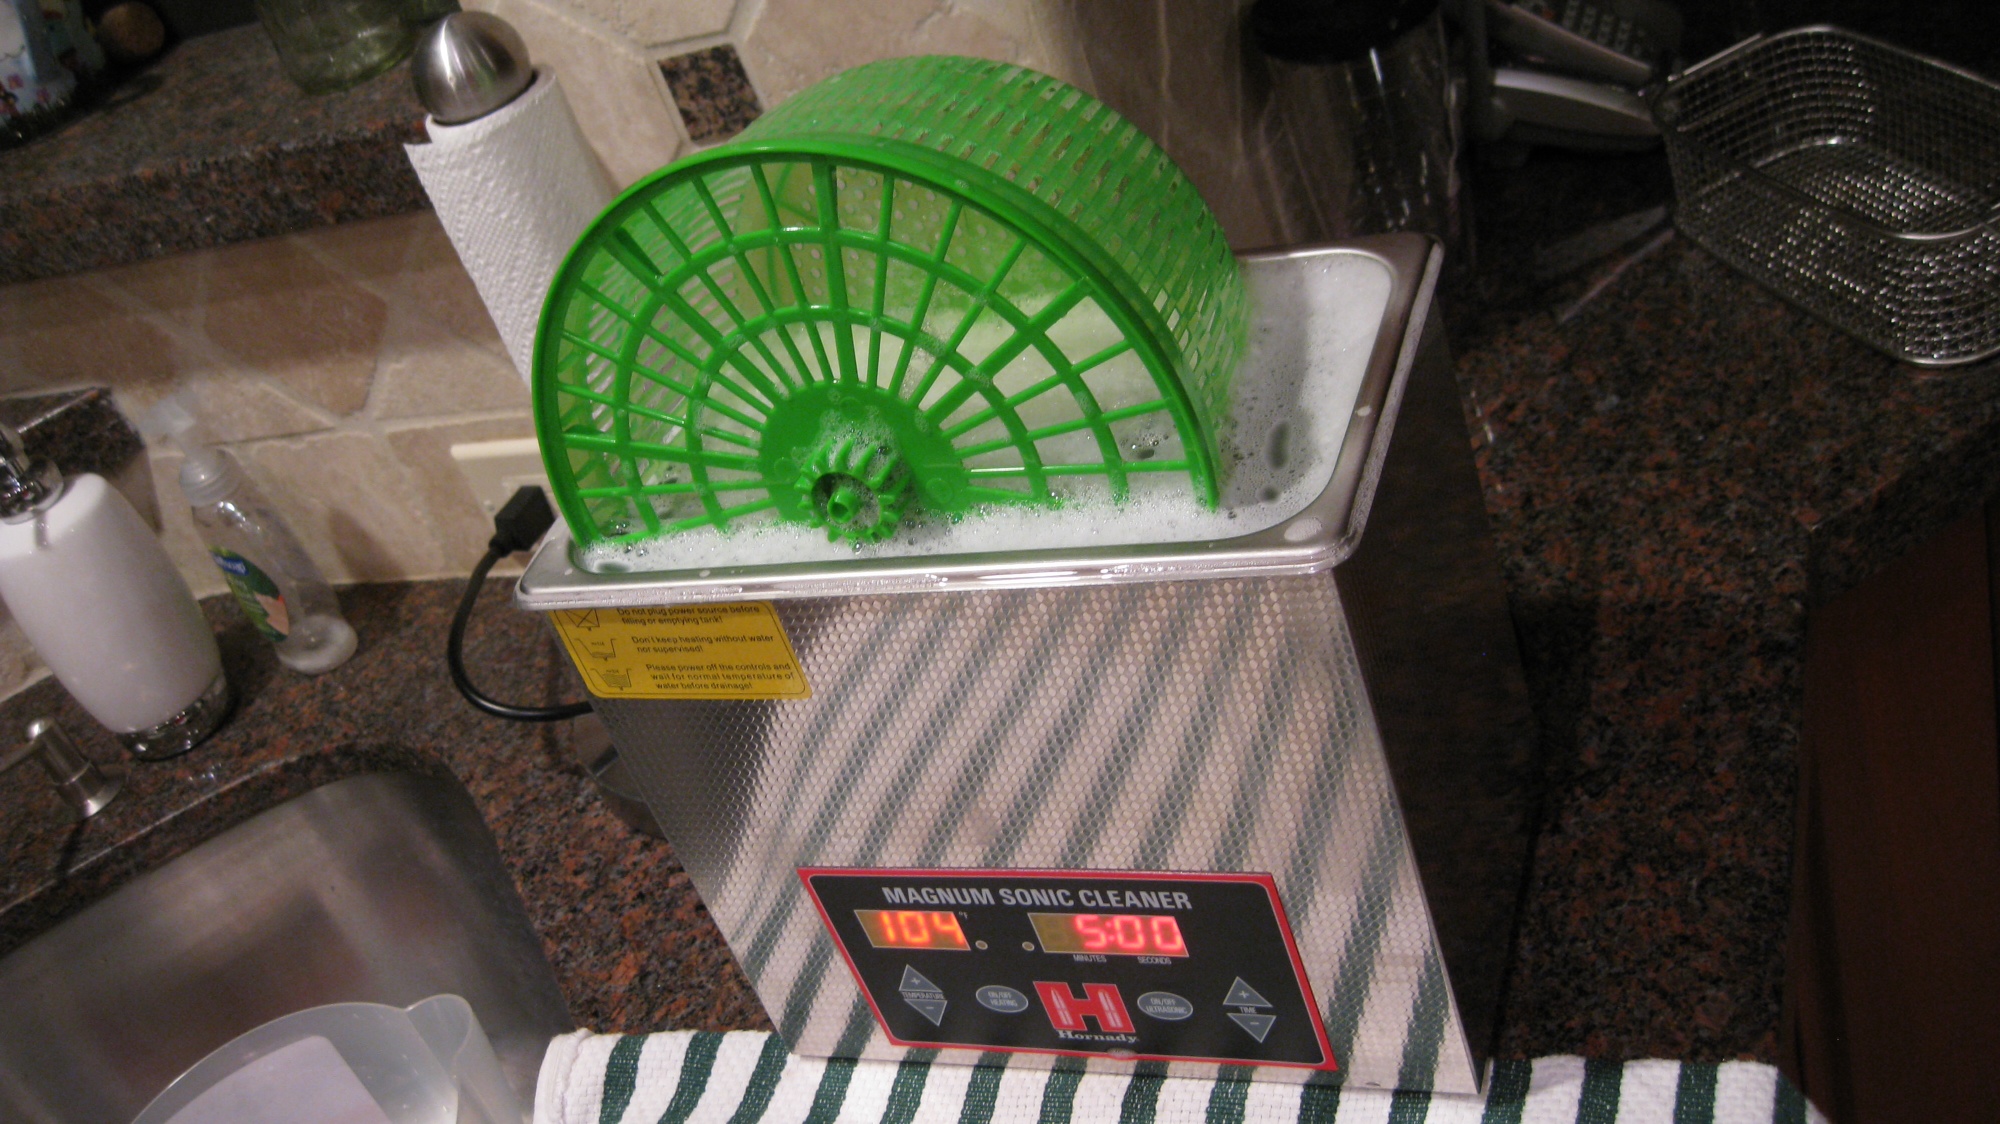
1. Hornady "Lock 'n' Load" Magnum Sonic Cleaner - dual transducer ultrasonic cleaner with 140 W of power (currently about $200 on Amazon).
http://www.amazon.com/Hornady-Stainless-Steel-Sonic-Cleaner/dp/B004EXWERQ
Do NOT skimp here. If you get a smaller, low power, single transducer unit marketed as a "jewelry cleaner", you WILL be disappointed.
The ultrasonic cleaner is also great for jewelry, glasses, fuel injectors, carburetor parts, filthy used chip racks from casinos, and even the stainless beverage holders in your poker table that get nasty after a few games!
2. Lundmark "TSP" (sodium metasilicate) Hard Surface Cleaner
http://www.amazon.com/Lundmark-TSP-Hard-Surface-Cleaner/dp/B001001VRA/
I hate the false advertising by Lundmark and others that boldly put "TSP" on the labels of their products that are NOT trisodium phosphate, but I love the way that sodium metasilicate cleans chips.
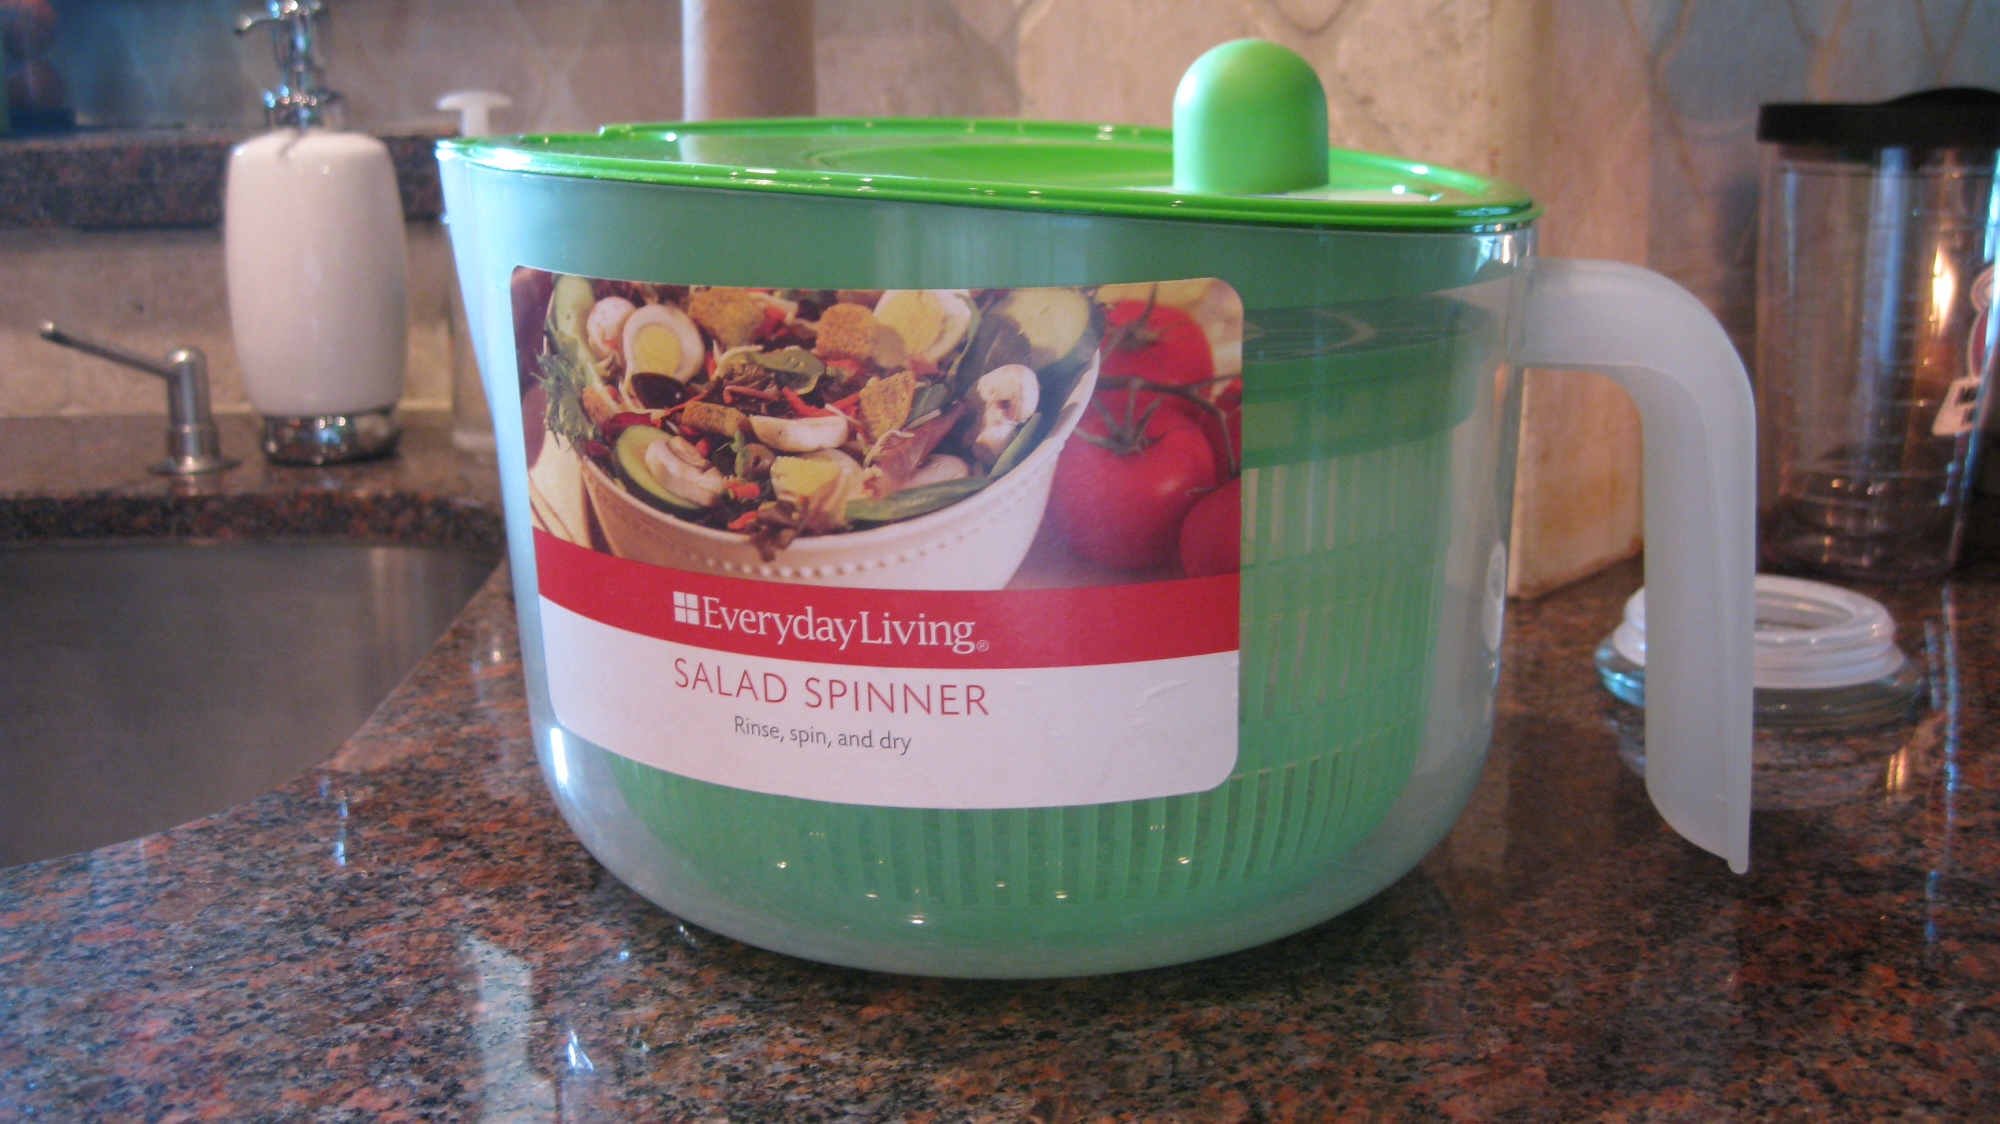
3. A plastic "chip barrel cage" (my term) taken from something called a "Salad Spinner" (about $8 for the one I got). I found this in a local Kroger grocery store. Below is a link to a salad spinner on Amazon that is identical to mine, though it's currently about twice the price that I paid in the grocery store:
http://www.amazon.com/gp/product/B005JYZSTK
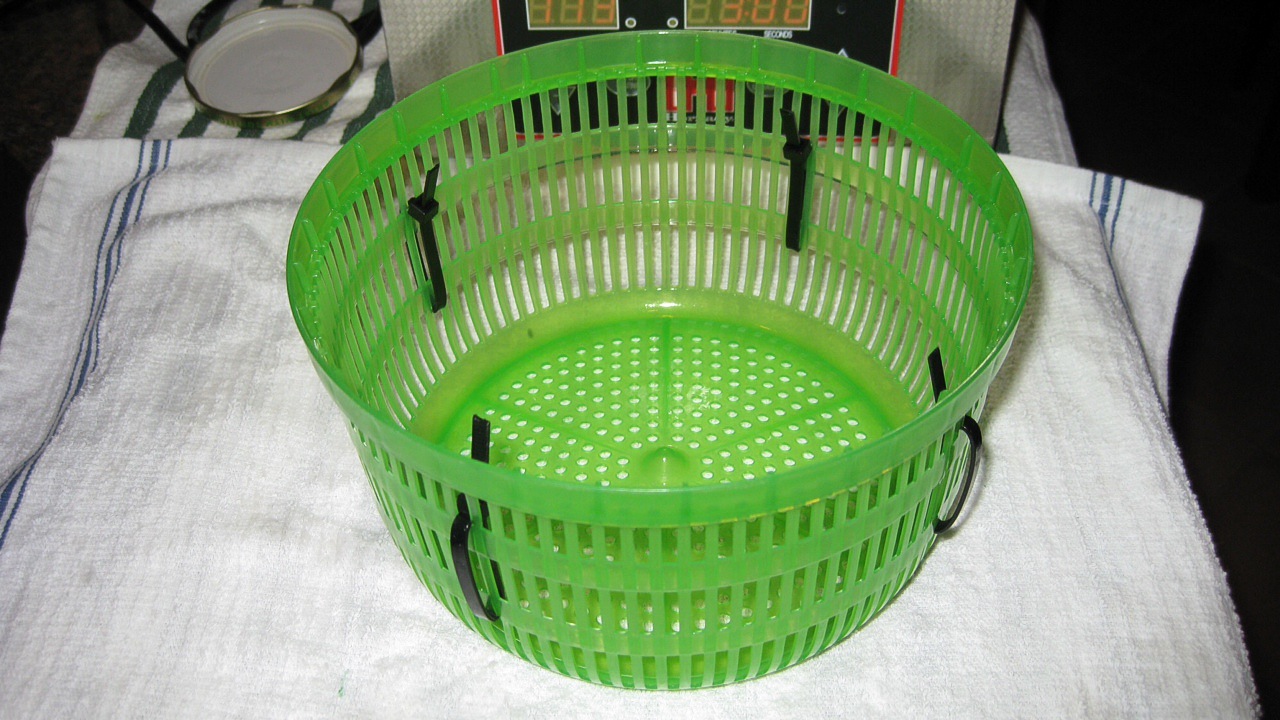
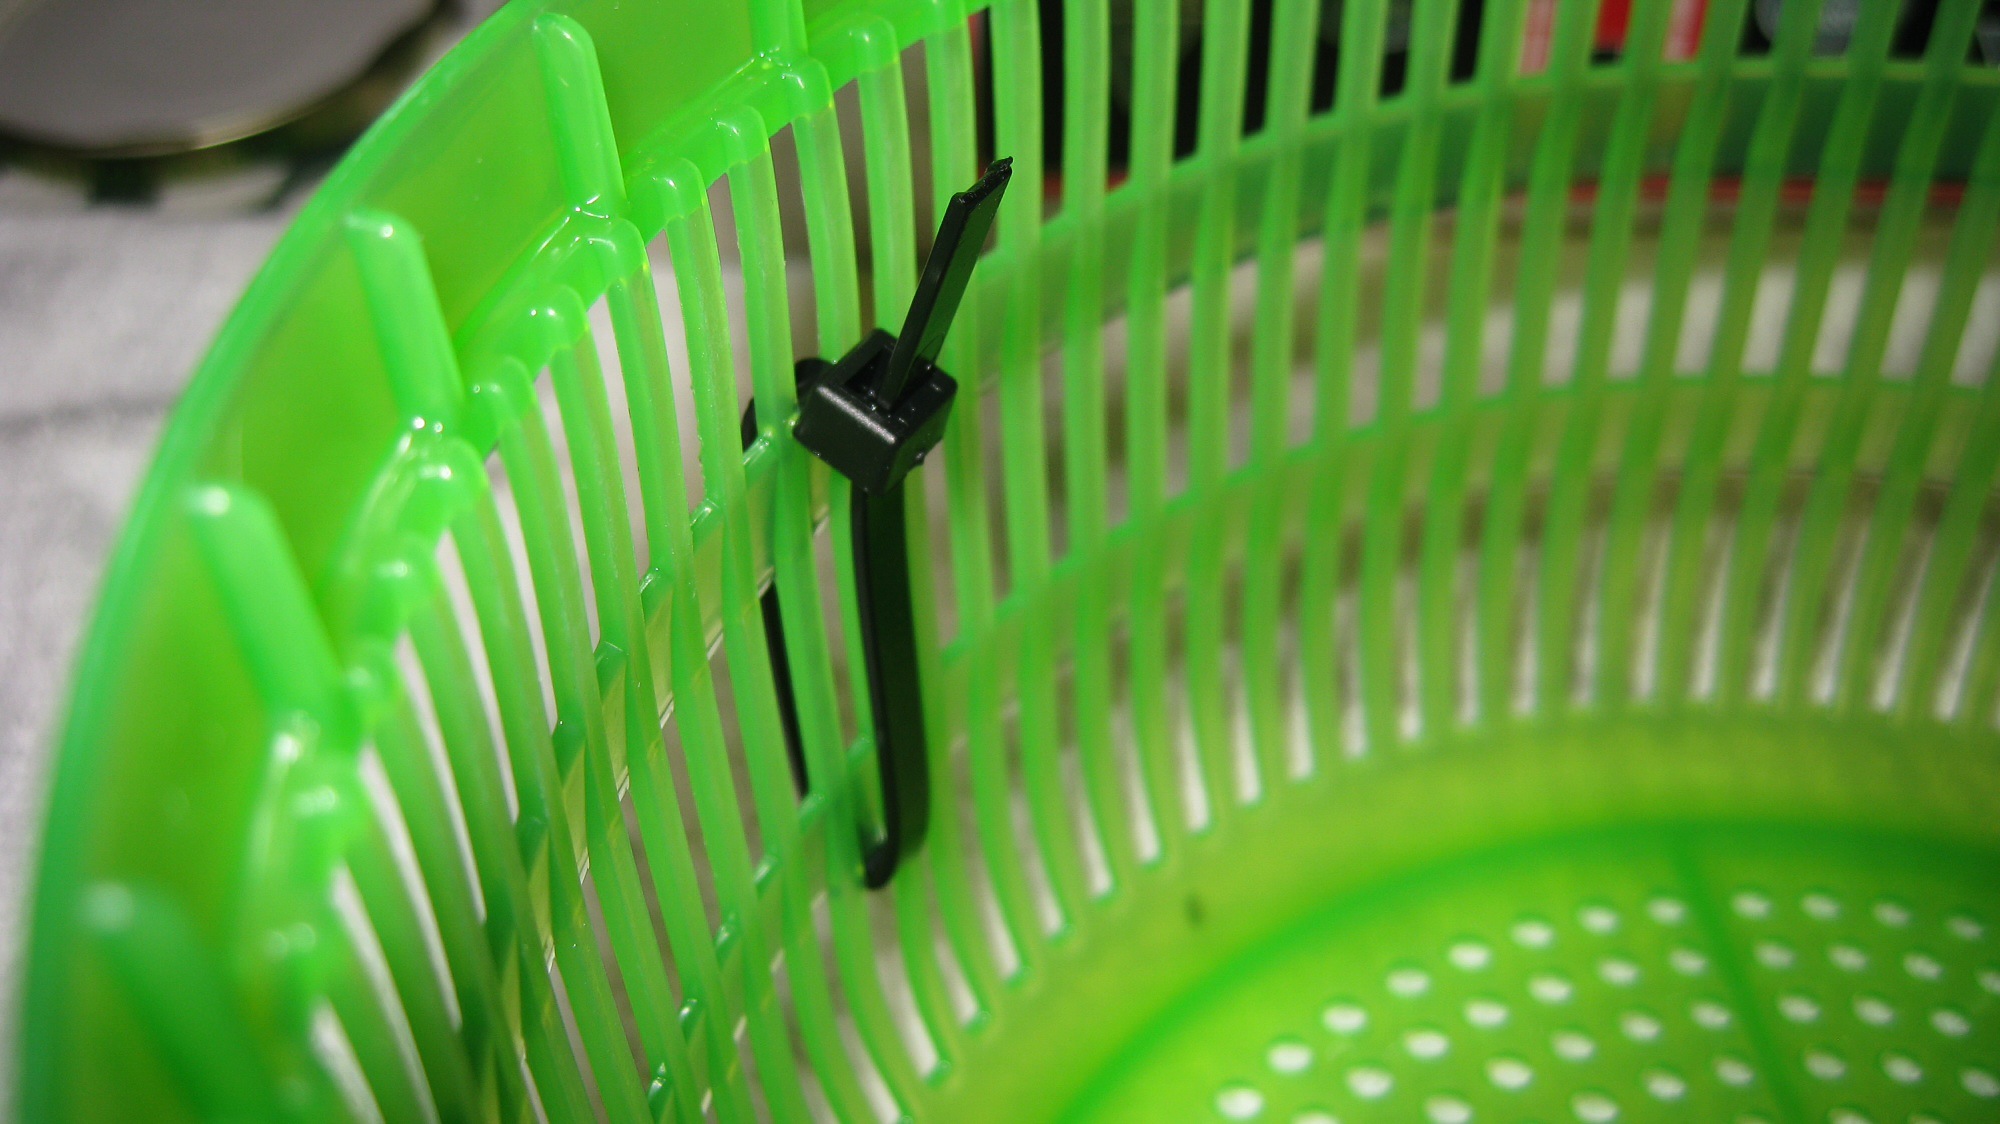
IMPORTANT NOTE: In order to get good "turnover" of the chips while rotating the cage, I added four plastic ties to the sides of the cage. This easy modification significantly reduced the amount of time it takes to clean the chips! See the photos at the end of the topic.
If you can't get the same thing, substitutions could be made here, as you just need something to contain the chips while you rotate them during the ultrasonic bath. However, I strongly recommend plastic instead of metal here, in order to prevent tearing up the stainless tank in the ultrasonic cleaner. I also recommend finding something as large as possible that still fits in the ultrasonic tank.
4. Distilled Water (around 70-80 cents/gallon) - for better cleaning, and to help ensure that others who try this process will get similar results. Depending upon the hardness of the water in your location, use of distilled water can make a significant difference!
5. A large clean bowl to use for rinsing the chips in clean water after the ultrasonic bath. I used the large plastic container that came as part of the "Salad Spinner".
6. Lots of clean towels to pat dry the chips, and to wipe up any minor splashes that occur during rotating the chip barrel cage during the ultrasonic bath. I recommend "bar mop" towels. They are great for drying chips, and even better for wiping excess mineral oil from chips. They're also very cheap if you buy a pack of them at Sams or a similar warehouse club, and they'll keep you from getting in trouble with the missus for using her nice towels for wiping chips. Here's an example at Sams:
http://www.samsclub.com/sams/bakers-chefs-bar-mops-16-x-19-24-ct/prod3530205.ip
7. Measuring cup for the distilled water.
8. Measuring spoon (tablespoon) for the sodium metasilicate powder.
Process:
––––––––––––––––––––––––––––––––––––––––
IMPORTANT - INSPECT RESULTS ON THE FIRST BATCH OF YOUR OWN CHIPS CAREFULLY PRIOR TO CONTINUING TO CLEAN THE REST OF YOUR COLLECTION! This process did not damage any of my Paulson chips (including thousands of Casino Aztar Evansville, Par-A-Dice, Garden City, Casablanca, Empress, Casino Miami, and others). To the contrary, it eliminated nearly all the fading problems I was experiencing with longer/hotter Oxi baths. It also bears noting that this process, which includes tumbling the chips in a cage in the ultrasonic bath, did NOT impart any visible damage (chipping/nicks) in even the most fragile of chips that I cleaned - some near-mint white RHC Terrible's $1s that still had razor sharp edges, but had become grey from cheesy dirty hands in someone's home games! However, your own chips, equipment, and process conditions COULD yield different results, so be careful! I'm not responsible for any damage that might occur using this process, any more than any of the other helpful people at PCF & CT are responsible for minor damage (fading) I inflicted upon small numbers of my own chips when I followed some of the traditional processes noted in the forums!
Here we go...
0. Prepare your workspace, and be safe! This goes a long way toward speeding the overall job. I recommend locating the ultrasonic unit very close to the kitchen sink, with some space close by large enough to place a medium towel that will be used for the initial drying of 40 chips at a time. Put your large bowl for rinsing in the sink and fill it with clean warm water. Get your towels ready.
KITCHEN AND PERSONAL SAFETY:
• Cover any kitchen countertops, cabinet faces, backsplashes, etc. that could be splashed with the sodium metasilicate solution. Don't forget to cover the floor nearby, too! Your personal safety is at risk if the missus finds that you've ruined her kitchen.
• Wear eye protection.
• Wear gloves. The thin latex gloves you can get at the drug store work great.
1. Heat 2 cups of distilled water in a clean measuring cup in a microwave for about 3 minutes.
2. Pour the heated water into the tank of the ultrasonic cleaner.
3. Dissolve 2 tablespoons of Lundmark "TSP" sodium metasilicate in the hot water.
4. Add 6 more cups of distilled water to the ultrasonic cleaner, for a total of 8 cups. I found that this gave me something close to the 110 F temperature that I wanted to use.
5. Plug in the ultrasonic cleaner, and turn on the built in heater if the temperature isn't yet up to 110 F. Turning on the ultrasonic transducers will heat the water even faster if necessary.
6. Put 40 chips in the chip barrel cage.
7. Set the ultrasonic cleaner timer. As a guideline, I recommend the following times:
• Lightly soiled Chipcos - 30 seconds
• Lightly soiled Paulsons of any mold - 30 to 45 seconds
• Heavily gunked up Paulson RHC chips - 45 to 60 seconds
• Heavily gunked up Bud Jones roulettes - 60 seconds
• Heavily gunked up Paulson SCV/LCV - 1-1/2 to 2-1/2 minutes
If you have some PREVIOUSLY CLEANED Paulson SCV/LCV chips that still have gunk in the rings and Hat & Cane mold, you may find that the gunk has been hardened to the point where even 2-1/2 minutes in the ultrasonic bath won't remove it. I'm not sure whether the previous cleaning process, detergent, and/or heat causes this, but I've experienced it. In any case, if you have chips like these, I recommend you give 2-1/2 minutes a shot, and if that doesn't work, give up and resort to getting the hardened gunk out with a dental pick or the back side of the point of an X-Acto knife. If you elect to trying longer baths in the ultrasonic unit, please be VERY careful to watch for fading.
8. Place the chip barrel cage with chips in the ultrasonic tank, and turn on the ultrasonic cleaner.
9. Rotate the chip barrel cage by hand for the entire ultrasonic cleaning time. I've found that 1/2 rotation per second works best. You'll note that the ultrasonic transducers add a lot of energy to the bath that's absorbed by the chips and radiated as heat, i.e. the temperature of the water will rise during the bath. I try to keep the temperature around an average of 110-115 F.
SAFETY CAUTION: BE CAREFUL TO KEEP YOUR FINGERS OUT OF THE ULTRASONIC BATH WHILE THE UNIT IS RUNNING. IF YOU DON'T, IT WILL *NOT* FEEL GOOD!
Also note that I've experimented with a lot of different rotation speeds, and alternating between rotating/waiting, etc., but the constant 1/2 rotation per second has worked best so far.
10. When the ultrasonic cleaning cycle has completed, slowly remove the chip barrel cage from the tank, give it a gentle shake, and allow the excess water to drain back into the ultrasonic tank.
11. Dump the chips into the bowl of warm clean water to rinse. Agitate the chips by hand a bit to ensure they're well rinsed.
12a. If your chips have cigarette odor, take them from the rinsing bowl, shake the excess water, and put them straight into a container of 5% distilled white vinegar (I use a cheap plastic tupperware-like container for this). Then begin ultrasonic cleaning your next batch of chips while these cleaned chips soak in vinegar to remove the odor. When your next batch of chips is clean and in the rinsing bowl, remove the chips from the vinegar bath, shake the excess vinegar, and place them on a towel to pat dry as in step 12b (you don't need to rinse them in water again).
12b. If your chips don't have cigarette odor, remove them from the rinsing bowl and lay them flat on a towel, and pat the tops dry with another towel. Remove and place the chips flat on a large towel on a table for overnight drying prior to oiling.
After patting dry, I move the chips to the "overnight drying table" (my poker table) by picking up the four corners of the bar mop towel on which they were pat dried. Over the long haul, this saves a lot of time by minimizing the handling individual chips.
13. Loop back to step 6 and repeat as necessary until you're done. Note that I use the same bath of sodium metasilicate water for 1,000 chips, and though filthy at the end, the original bath water is still effective in cleaning the last batch of chips. However, I often find that after cleaning about 1,000 chips, the sodium metasilicate bath becomes very foamy (possibly from detergents used to clean the chips at the casino) to the point of spilling over out of the ultrasonic unit. So, I usually change out the bath water about every 1,000 chips when I have more than that number to clean.
Closing Remarks:
––––––––––––––––––––––––––––––––––––––––
I sincerely hope you find this process useful. If you decide to give it a try, let us know how it works for you! -Ski
Photos:
––––––––––––––––––––––––––––––––––––––––
The "Salad Spinner" which provided a nice inexpensive plastic "chip barrel cage" that worked really well for the ultrasonic cleaning process:
Four plastic ties on the cage to greatly improve chip turnover and reduce cleaning times:
The Hornady Magnum Sonic Cleaner with the chip barrel cage:
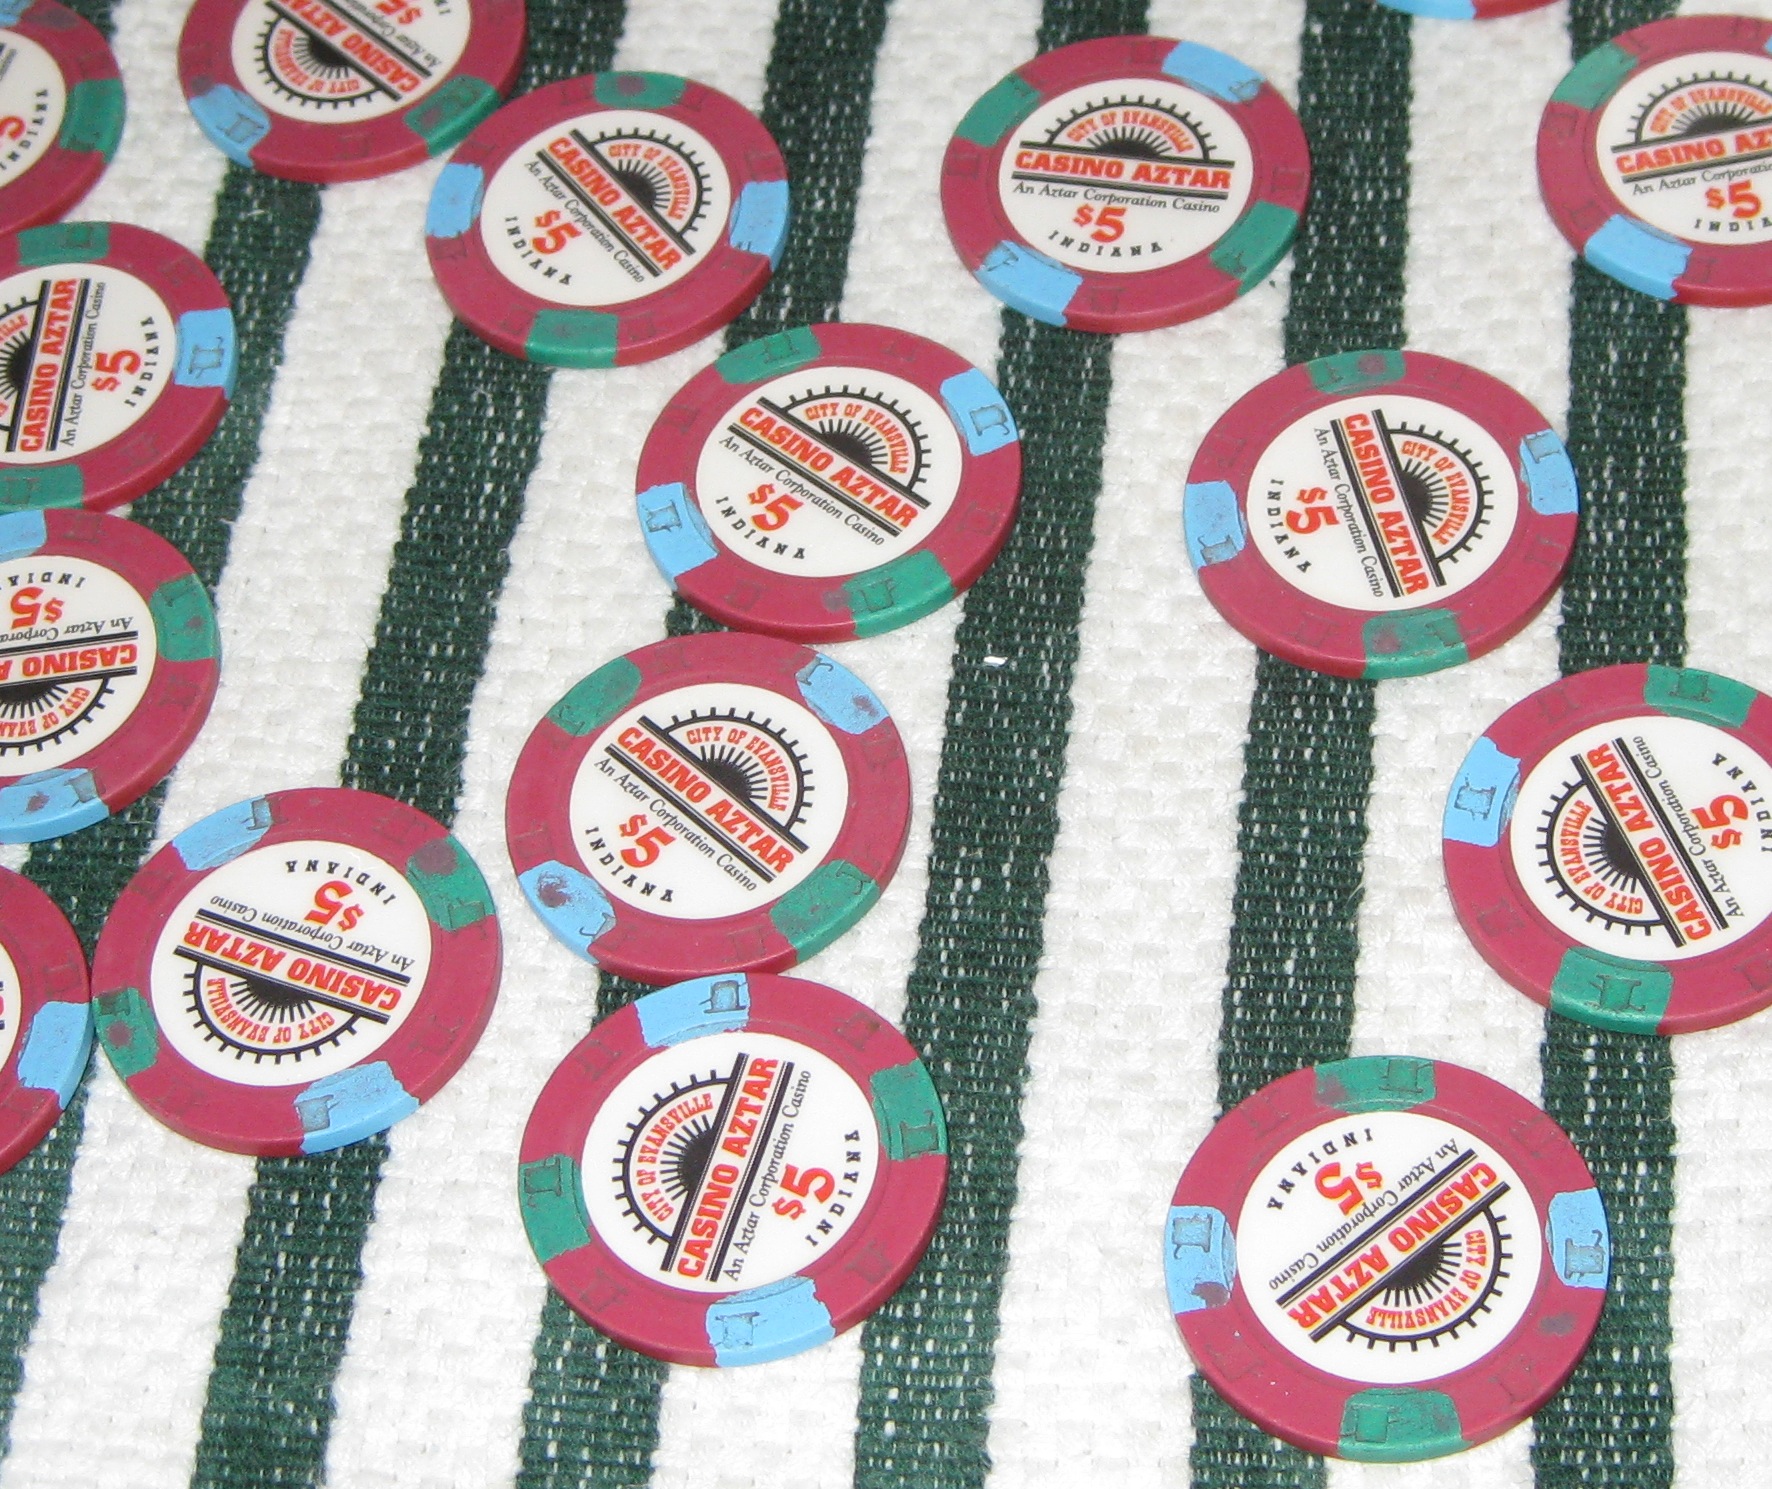
Some Casino Aztar Primary $5 chips prior to cleaning, under the harsh light of a flash (not flattering to the chips, but shows the dirt better):
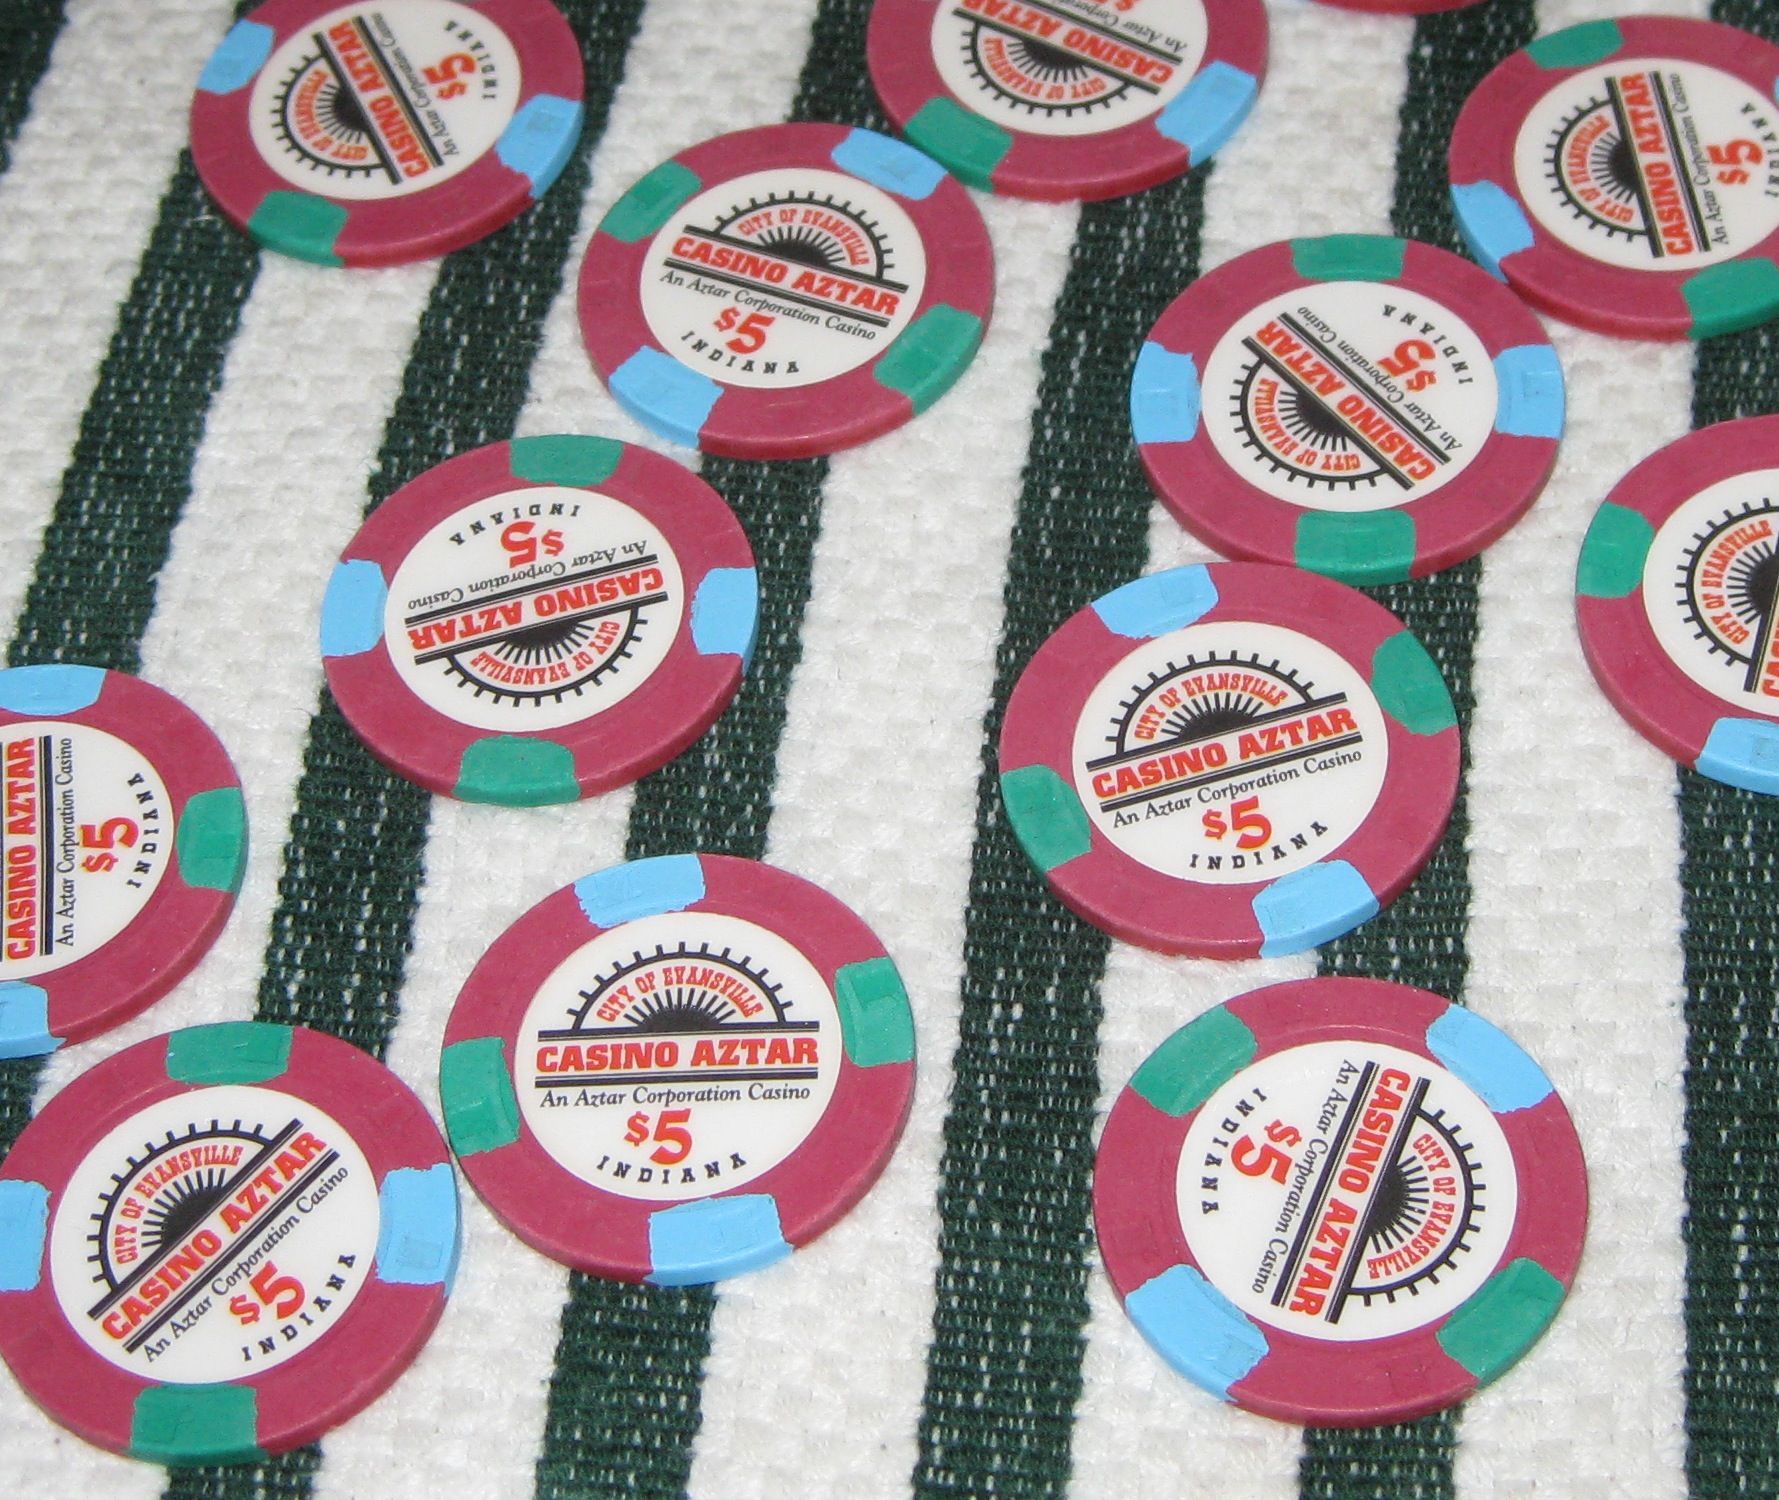
The same Casino Aztar Primary $5 chips after cleaning and rinsing, again under the harsh light of a flash (again, not flattering to the chips, but shows how clean they are):
Source: https://www.pokerchipforum.com/threads/ultrasonic-chip-cleaning.1691/
0 Response to "How to Clean Poler Chips Fast and Easy"
Post a Comment